Installation
The installer is available at the download page. Please check system requirements before the installation. Once the installer downloaded, run it:
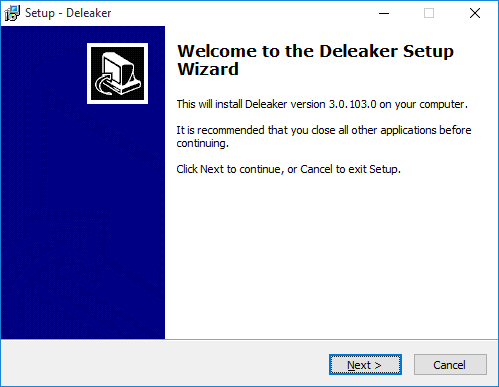
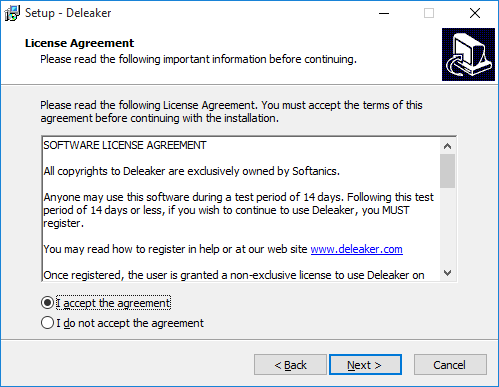
Click Next. Read the License Agreement, select "I accept the agreement", and then click Next:
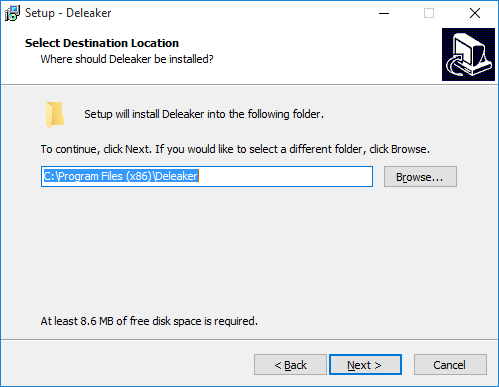
Then select the folder for Deleaker or leave the default value, then click Next:
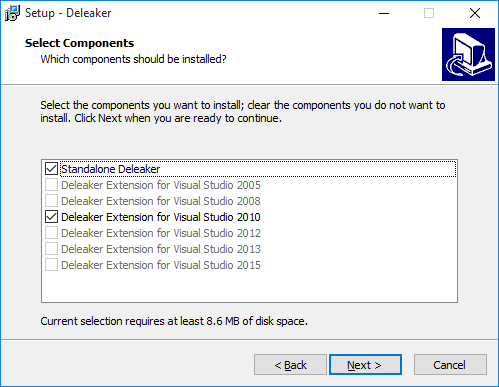
Now you can select the Deleaker Standalone version to install and the Visual Studio versions, which will load Deleaker Extension.
Checkboxes for Visual Studio versions that are currently unavailable on the machine are disabled.
Please note that Visual Studio Express Edition doesn't support any extensions.
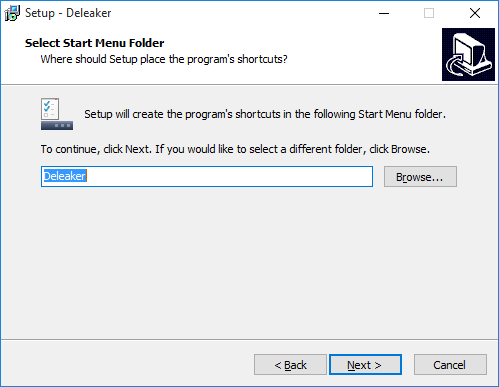
Next, select where the installer should place Deleaker's shortcuts or leave the default folder:
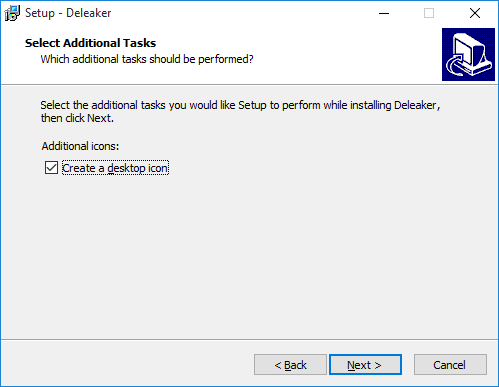
Choose whether you would like to have a shortcut for Deleaker standalone on the Desktop:
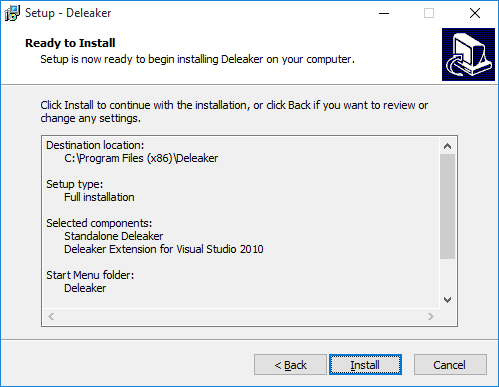
Click Next and review the installation details. If you want to change anything, click Back; if the everything is correct, click Install:
The Setup will install Deleaker on the computer:
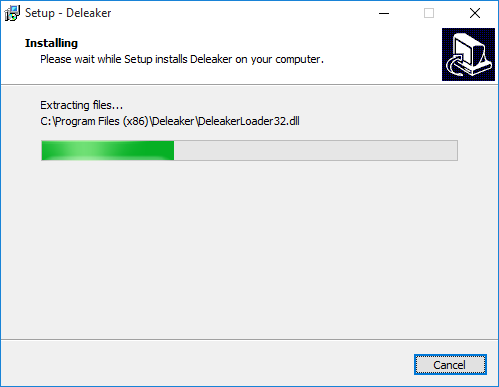
Once it's ready, just click Finish to close the installer:
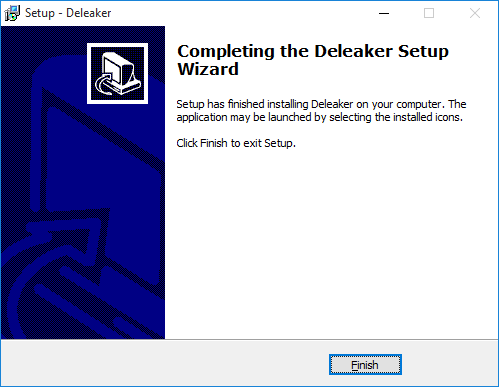
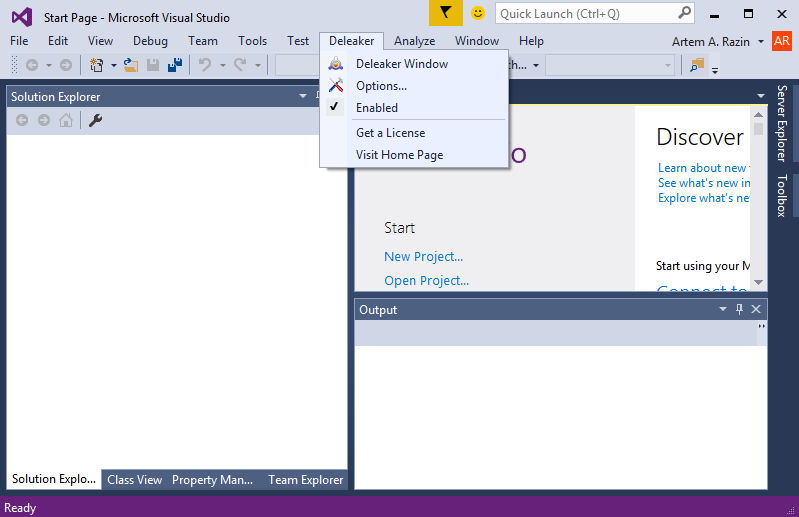
Deleaker is now installed. If you have selected installing Extension for Visual Studio, let's check if Deleaker has been added to Visual Studio.
Start Visual Studio and check if the Deleaker menu added to the main menu of Visual Studio.
If you can't find Deleaker, please check: installation troubleshooting.
